Construction time lapse shot list for project handover: construction Time-Lapse Shot List for a Clear Project Handover
A construction time lapse shot list for project handover works best when you define the handover story first—what the finished film must prove—then lock a fixed master view, planned milestone inserts and privacy rules before anyone presses record.
Direct answer: define the handover story before choosing the frame
Write the story the client or end user must understand at handover: site context, how the building rose, and what changed between milestones. Adobe’s guidance on time-lapse work stresses defining the subject and intended feeling, keeping the camera steady and knowing how many frames the final film needs—use that as your planning baseline before you pick angles or intervals.
Treat the shot list as a handover brief, not a camera wishlist. Decide who owns approvals, which views are mandatory and which moments are optional inserts. A dedicated time-lapse camera is a practical fit when you need one fixed master view and scheduled project-progress capture; leave resolution, duration and “cinematic” claims out of the brief until you have verified deliverables.
Opening context, fixed master view and milestone inserts
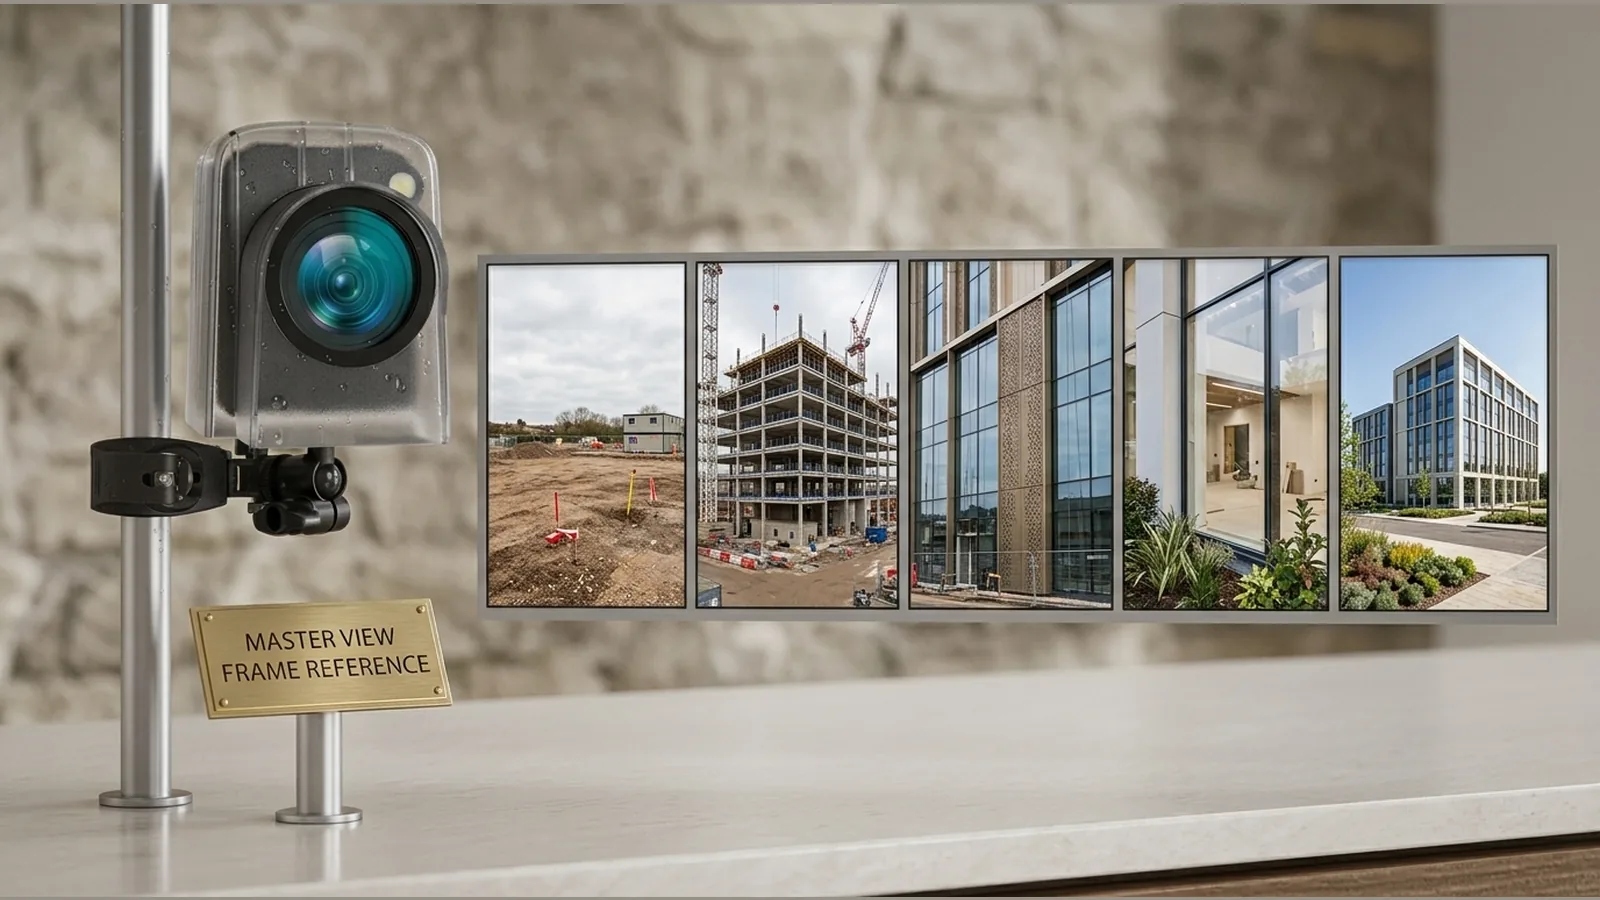
Open with a wide establishing view that shows neighbouring fabric, access and orientation so later viewers can place the project. Then hold one fixed master view for the main progress story so structure growth reads as a continuous sequence rather than a jumble of cutaways.
- Master view: same mount position, height and lens direction for the whole programme.
- Context openers: short clips or still inserts that name the plot and facing.
- Milestone inserts: close or alternate angles only at agreed stage gates (foundations, frame complete, weathertight, first fix, finishes).
Keep the master camera steady. Interval and total frame count should follow the intended film length, not an arbitrary daily habit.
Schedule changes around structure, envelope, services and finishes
Align capture changes with construction stages so the edit can narrate progress without inventing drama:
- Structure — foundations, frame and floor plates; hold the master view; add inserts only if a second face of the building becomes the handover focus.
- Envelope — cladding, roofing and openings; note when the skyline silhouette stabilises so the edit can mark “weathertight” clearly.
- Services — plant rooms, risers and external plant; use inserts sparingly and avoid dwelling on identifiable people or vehicle plates.
- Finishes — landscaping, signage and soft fit-out; shorter inserts are enough once the massing story is complete.
When the programme slips, update the shot list dates—not the master composition—so replacements and contractors still match the original frame.
Create a composition reference so replacements match
Photograph or sketch the master frame with marked horizons, foreground edges and exclusion zones. Store that reference with mount height, pan/tilt notes and a simple “do not move” label on site.
If you use a unit with a small rotating preview screen, treat it as a composition-check aid when remounting after maintenance—not as evidence of image quality. The aim is continuity of framing for the handover film, not a new aesthetic each week.
Privacy-safe exclusions and approval owners
Do not treat this workflow as a security camera or live monitoring service. For any capture that may include people or identifiable activity around the site, UK data-protection practice for surveillance expects organisations to minimise personal data, be transparent, control access and set a purpose-based retention period.
- List exclusion zones (site offices with desk views, neighbouring windows, public footpaths if faces are likely).
- Name the approval owner for public sharing, client presentations and social clips.
- Agree what must be blurred, cropped or held back before any external release.
- Keep access to raw files limited to the project team named in the brief.
Final export, archive and deletion checklist
Before handover day, assemble a short export pack: master time-lapse, optional milestone inserts, a still of the opening context and a one-page credit/date slate. Confirm the approval owner has signed off the public cut.
Archive irreplaceable project assets with more than one separated copy and test that a restore works—NCSC advice on offline backups in an online world is a useful discipline here. Then delete or restrict working copies that are past the agreed retention purpose so the handover pack remains the controlled record.
One-page brief template and FAQ
Copy this into your construction handover time lapse notes:
- Handover story in one sentence — what the film must prove.
- Master view — location, height, facing, exclusion edges.
- Building project progress shot list — stage gates and insert rules.
- Interval / expected film length — frames needed, not marketing claims.
- Privacy & approvals — owner, retention date, share list.
- Archive — copy locations and restore test date.
FAQ
Do I need multiple cameras? Usually one fixed master view plus planned inserts is enough for a clear project handover.
Can we change the angle mid-programme? Only with a new composition reference and a note in the edit; otherwise continuity breaks.
What belongs in the time lapse project brief? Story, shot list, privacy rules, approval owner and archive plan—not unverified product specifications.
When you are ready to set a fixed master view for scheduled progress capture, review the current product details for the dedicated time-lapse camera and match the brief to the site you actually need to document.