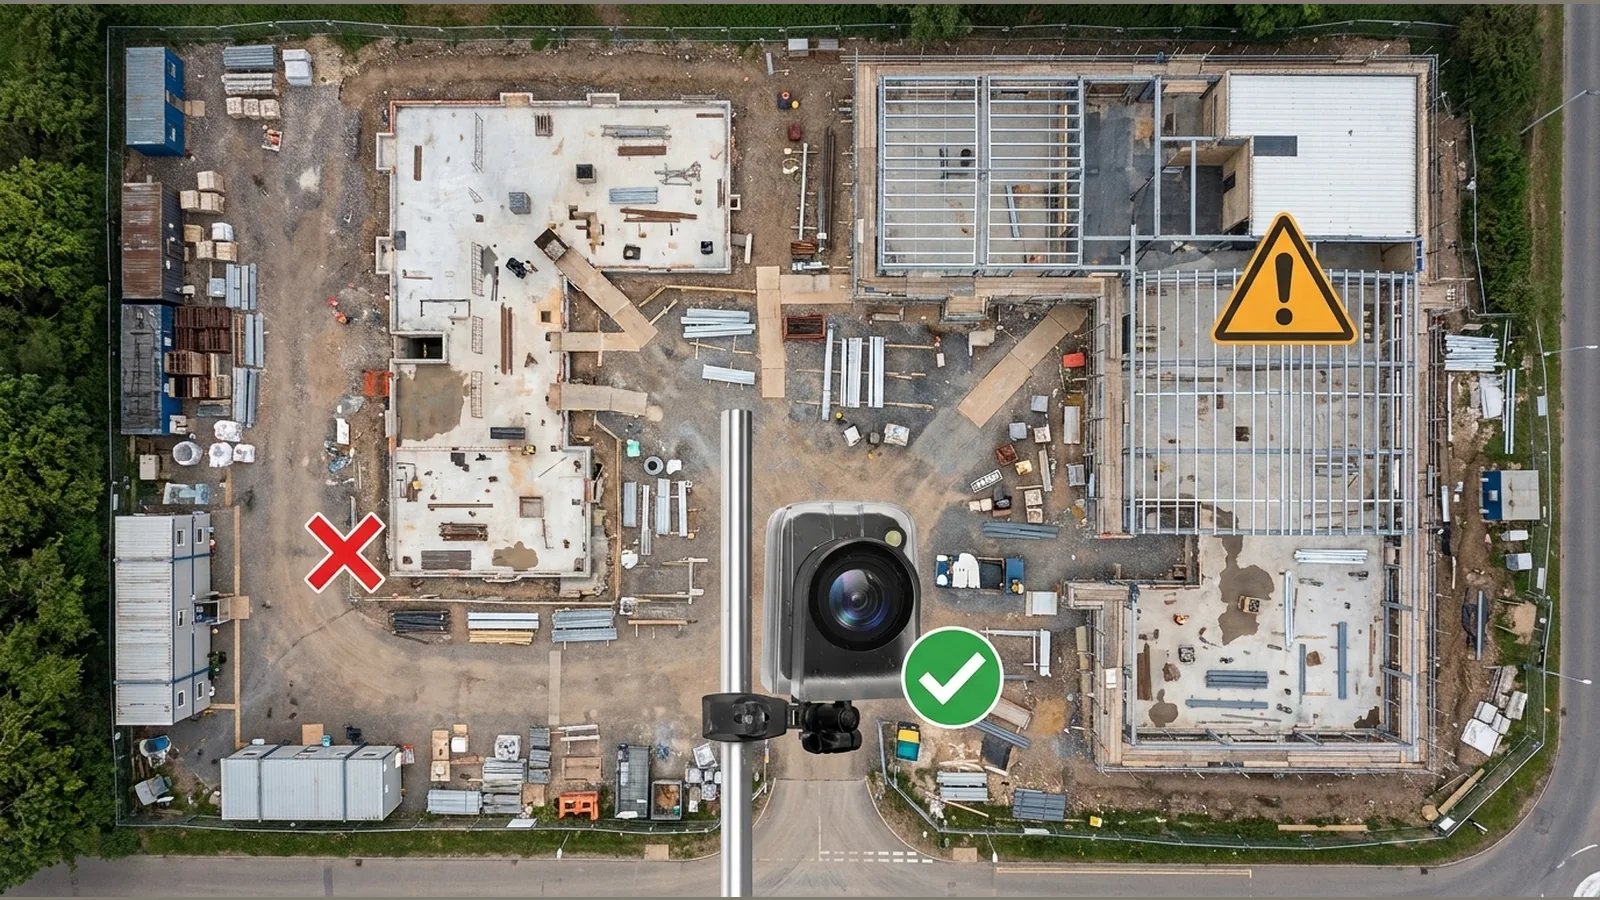
Where to position a time lapse camera on a building site
Where to position a time lapse camera on a building site is best answered by choosing one stable, safe and maintainable viewpoint that clearly shows the planned change from start to finish, without improvising height access or capturing more of the surroundings than you need.
Direct answer: choose a stable, safe and maintainable viewpoint that shows the planned change
Pick a fixed spot that stays clear of plant routes, material stacks and temporary works, and that keeps the finished building mass in frame as the project grows. Favour a position you can reach for checks and servicing under the site’s normal access rules. Avoid any urge to climb for a “better” view unless work at height has been planned, risk assessed and carried out by competent people; the HSE guidance on construction work at height emphasises avoiding work at height where possible.
Map the build envelope and future obstructions
Before you fix the camera, mark the final outline of the structure, crane arcs, scaffold lines, welfare units, hoardings and planned stockpiles. Ask what will rise into the shot later—upper floors, cladding packs, temporary roofs—and leave enough headroom in the frame so the story of the build remains readable. A viewpoint that looks perfect on day one can fail if a future obstruction cuts through the main elevation.
Prefer ground-level installation and safe access where practical
Where practical, mount from ground level or another location that already has authorised, maintained access. Do not recommend improvised ladder, scaffold or roof mounting; site rules and a competent risk assessment must control any access at height. Choose a place where a nominated person can reach the camera for framing checks, cleaning and media swaps without creating a new fall risk or blocking emergency routes.
Control public areas, neighbouring property and worker identification
Limit the field of view to the works you need to document. Keep public footways, neighbouring private windows and areas where workers are clearly identifiable out of the hero composition wherever you can. The ICO guidance on data-protection principles for surveillance expects camera fields of view to be limited to necessary information, supported by transparency and governance controls. Agree signage, retention and who may review footage before capture begins.
Check sun path, backlight, weather exposure and vibration
Walk the candidate position through the day: note where the sun will sit behind the structure, when façades fall into deep shade, and whether glare will wash out detail. Consider rain, wind-driven spray and dust from plant, but do not assume any camera or mount will withstand a stated weather exposure or vibration level. Keep the unit away from generators, vibrating plant and loosely fixed boards that can shake the frame.
Mark the composition and schedule review shots
Once the viewpoint is agreed, mark the footprint and the intended horizon so the framing can be restored after maintenance. Use any on-camera preview only as a composition aid—for example a 2.0-inch screen with an approximately 90-degree rotating preview can help you align the build envelope without claiming performance beyond that use. Adobe’s time-lapse best practices recommend a steady camera and a test capture to check how the interval and scene will look. Schedule short review clips at agreed milestones so you can confirm the story still holds as the site changes.
Relocation decision table and FAQ
Use the table below when the current viewpoint no longer shows the planned change safely or clearly. Relocate only to another approved, maintainable position—never by improvising height access.
| Signal to review | Typical cause | Preferred response |
|---|---|---|
| Main elevation lost in frame | New structure, scaffold or stockpile in the sightline | Re-map the envelope and move to a pre-approved alternate ground-level or authorised viewpoint |
| Access for checks becomes unsafe | Routes closed, temporary works or height needed without a plan | Stop using that mount; relocate under site rules and a competent risk assessment |
| Public or neighbour privacy creep | Frame includes footways, private windows or clear worker faces | Tighten the field of view or relocate; refresh transparency and governance controls |
| Persistent backlight or shake | Sun path, reflective cladding, nearby plant vibration | Adjust orientation or move; do not rely on unproven weather or vibration claims |
FAQ: how high should the camera be?
Only as high as needed for the planned change, and only where access is already safe and authorised. Prefer ground-level or equivalent maintainable positions; do not improvise ladders, scaffold or roof mounts.
FAQ: can one position cover the whole programme?
Often yes if you map future obstructions early. If the envelope grows out of frame, use the relocation table rather than forcing a riskier mount.
FAQ: what about neighbouring buildings and the street?
Keep them out of the hero image where possible, and limit capture to necessary site information under your organisation’s surveillance governance.
When you are ready to review a dedicated time-lapse option for documenting construction progress, see the current product details for the DSOON time-lapse camera.