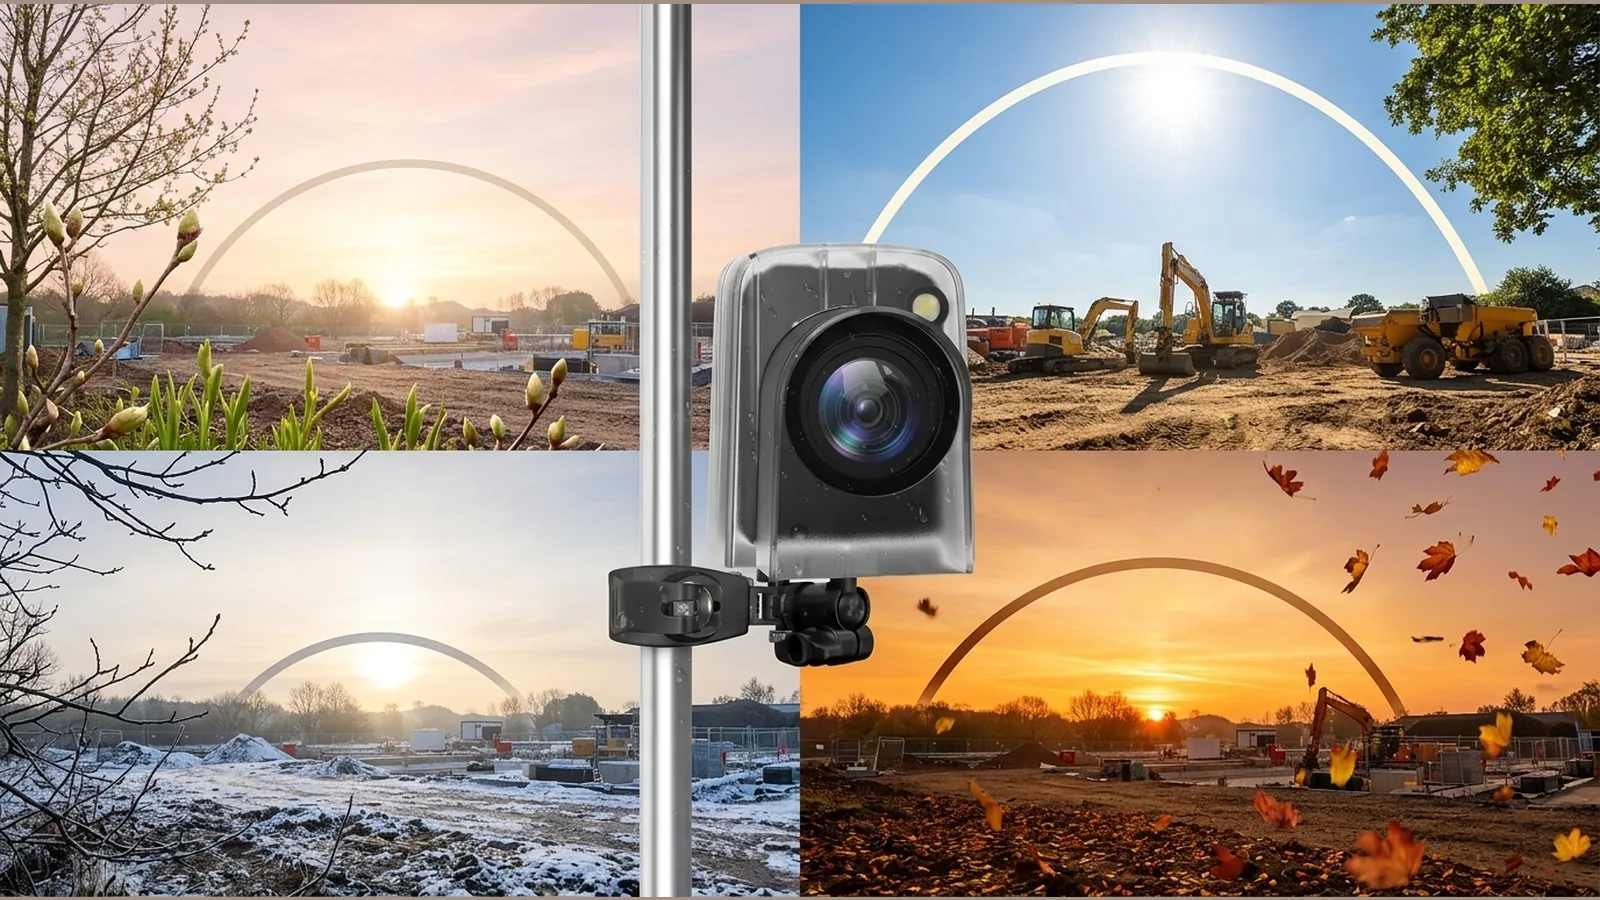
Seasonal daylight planning for outdoor time lapse uk: seasonal Daylight Planning for Outdoor Time-Lapse in the UK
Successful seasonal daylight planning for outdoor time lapse UK projects starts with the daylight you can actually use and the story you want the finished film to tell: check official rise, set and twilight times for your place and date, lock a consistent daily capture window, then test the frame on site before you leave the camera unattended for weeks or months.
Direct answer: schedule around changing daylight and the final visual story, then test on site
Treat daylight as a moving budget, not a fixed clock. Winter mornings arrive late, summer evenings stretch late, and civil twilight can still give usable sky brightness after sunset or before sunrise. Decide first whether the viewer should feel construction progress, seasonal landscape change, or a clear day-to-night rhythm, then set intervals and daily start/stop times that support that story.
Adobe’s guidance on time-lapse work is to research the scene and relate exposure, shutter speed, interval and final frame count to the intended result—so a site visit and a short trial sequence are part of planning, not an optional extra. Follow the product instructions for outdoor placement, and treat weather exposure and safe access as site-specific duties rather than assumptions about the camera.
Use official rise, set and twilight data for the location and date
HM Nautical Almanac Office publishes daily rise, set and twilight times for the United Kingdom and Ireland. Use those figures for the actual month, latitude and date of your shoot. A published monthly page is only an example for that period; replace it with current data whenever you revise the schedule.
Note civil and nautical twilight as well as sunrise and sunset. Many outdoor sequences look more coherent if capture begins or ends in twilight rather than cutting hard at the solar disc. Recalculate when clocks change or when the project slips into a new season.
Choose a consistent daily capture window
Pick one daily window you can keep for the whole run—for example mid-morning to mid-afternoon—so consecutive days share similar sun height and shadow direction. A stable window reduces jump-cuts caused by alternating bright noon frames and deep late-day contrast.
If the project must show full days, keep the same start and end offsets relative to sunrise and sunset rather than fixed clock times alone. That keeps winter and summer days comparable even when absolute hours differ. Revisit the window whenever scaffolding, cladding or tree cover changes what the lens sees.
Plan for low winter sun, backlight and long shadows
In UK winters the sun stays low, so façades, plant and cranes cast long shadows that move quickly across the frame. Walk the site near the planned start and end of your window and mark where glare, backlight or silhouette risk appears.
Do not rely on unverified low-light performance or automatic exposure behaviour. Prefer a window that keeps the main subject readable, and shorten or shift capture if the winter sun sits behind glass, water or polished metal for long stretches. Record notes on weather and site activity so later edits can explain odd frames without guessing.
Review the frame after seasonal site changes
After foliage leafs out, after temporary works move, or after a seasonal mount tweak, review composition before the next long run. An approximate 90-degree rotating preview can help you check framing after such an adjustment without assuming any weatherproofing or endurance claim.
Confirm that the horizon, key structures and exclusion zones still sit where you expect. If vegetation or new builds now dominate the shot, update the daily window or crop plan rather than hoping post-production will fix it. Re-check focus and level whenever the camera has been touched.
Protect privacy and safe access during adjustments
Outdoor time-lapse often overlooks public paths, neighbouring windows or site welfare areas. Keep capture pointed at the agreed subject, avoid recording private spaces without permission, and store media securely. If the camera is near a live site, co-ordinate with the person responsible for inductions and site rules before any visit.
Any adjustment that involves work at height must be planned, assessed and carried out by competent people, with work at height avoided where possible. Prefer ground-level access, approved platforms or existing safe routes over improvised climbs. Never trade a “quick tweak” for an uncontrolled height task.
Monthly planning table and FAQ
Use the table as a checklist habit, not as fixed UK times. Always substitute official rise, set and twilight data for your location and month.
| Planning step | What to confirm each month |
|---|---|
| Daylight source | Current HM Nautical Almanac Office rise, set and twilight times for the site |
| Daily window | Same relative start/end versus sunrise/sunset, adjusted for season |
| Story check | Whether the window still matches the intended visual story |
| On-site test | Short trial frames after any seasonal or site change |
| Access and privacy | Safe route for adjustments; no unintended private views |
FAQ
Do I need different schedules for winter and summer?
Yes. Absolute clock times drift with the season; keeping the window tied to sunrise, sunset and twilight usually yields more consistent outdoor time-lapse rhythm across a UK year.
Is a published monthly daylight page enough on its own?
No. Treat any single monthly publication as an example for that period and refresh with current location and date data before each planning cycle.
What should I avoid claiming about the camera?
Do not assume low-light performance, IP rating, battery endurance or automatic exposure behaviour. Follow the product instructions and your site risk assessment for weather exposure and safe access.
When you are ready to set up an outdoor sequence with clear daylight planning in mind, see the current product details for the outdoor time-lapse camera.