Time lapse interval for construction projects: start with the final film
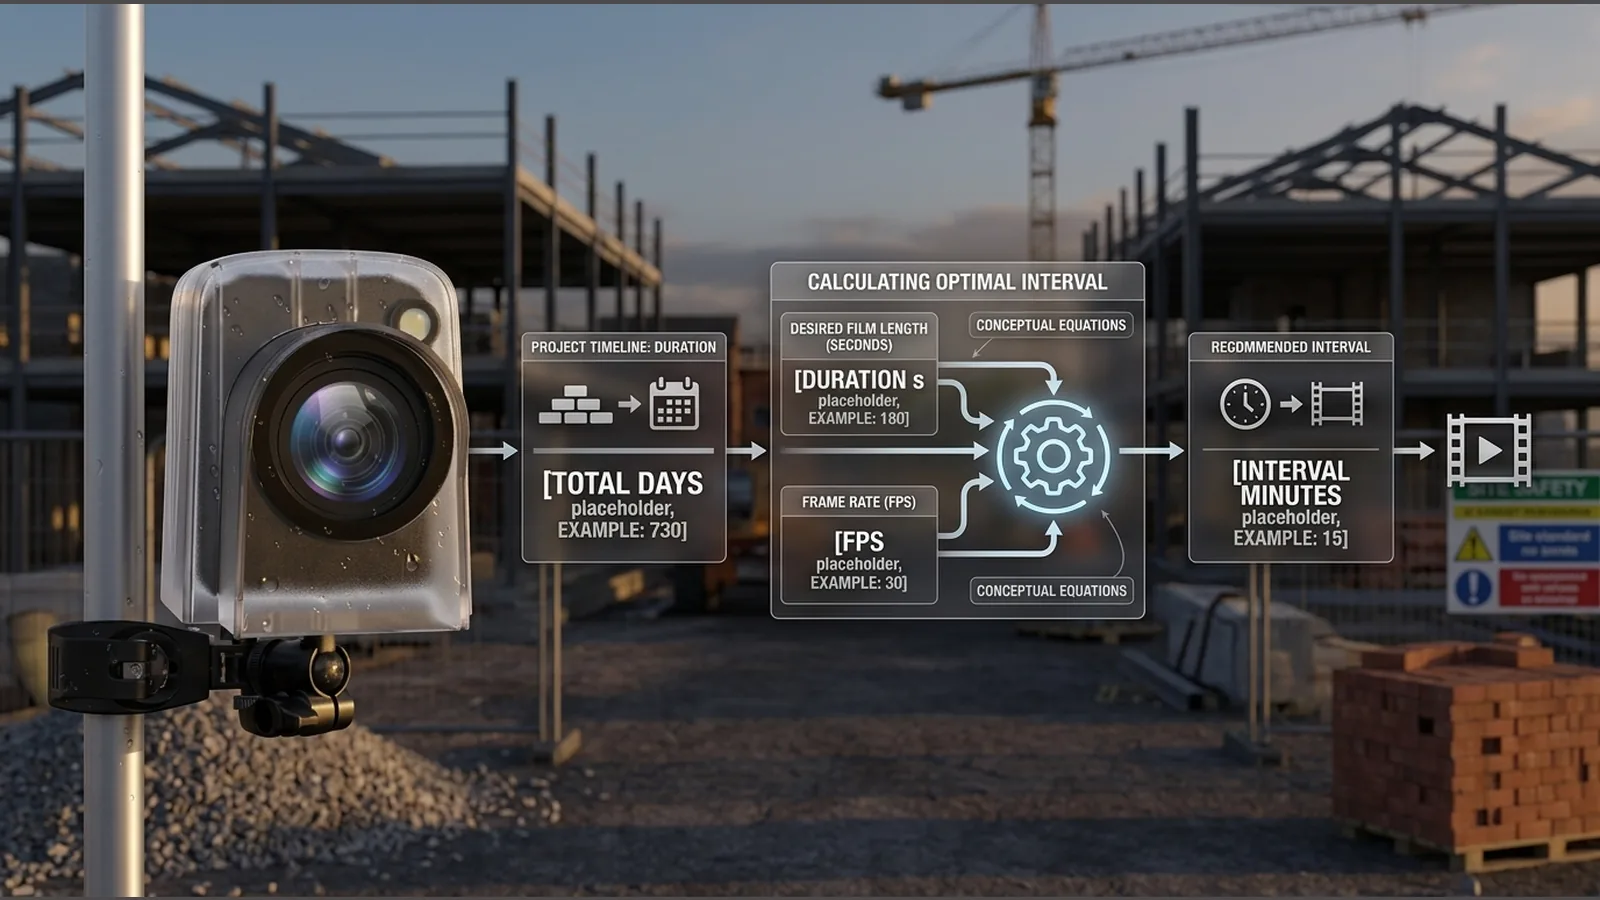
The useful time lapse interval for construction projects is calculated from three planning figures: how long the build will be filmed, how long you want the finished film to run, and the playback frame rate you will use. Once those are set, the interval follows from the frames you need rather than from a single “best” site setting.
Direct answer: calculate from project duration, desired film length and playback frame rate
Start with the finished film, not the camera menu. Adobe’s guide to creating time-lapse videos explains that final frame count depends on playback frame rate and film duration, and that interval choice changes with how fast the subject moves. For a construction sequence, that means deciding the story length first, then deriving how many stills you need, then spacing those stills across active site time.
As a planning formula (confirm every value against your device’s instructions before you schedule a shoot):
- Required frames ≈ desired film length (seconds) × playback frame rate (frames per second).
- Interval ≈ active recording duration ÷ required frames.
Treat the result as a starting plan. Interval modes and available ranges on any given camera must be checked on the live product instructions before publication or commissioning.
The frames = duration divided by interval method
Rearranged, the same relationship is easy to check in either direction:
- Frames ≈ active duration ÷ interval.
- Film length (seconds) ≈ frames ÷ playback frame rate.
If the planned film feels too short, you need more frames (a shorter interval or a longer active capture window). If it feels too long or too busy, lengthen the interval or trim inactive periods from the schedule. These are planning relationships only; do not assume a particular camera can hit every calculated interval, frame rate or recording length until you have confirmed the settings on that device.
Match interval to visible change rather than using one universal setting
Adobe Premiere Elements time-lapse best practices stress matching the interval to scene movement and keeping the camera steady. On a building site, visible change is rarely constant: steel erection can look almost still at a long interval, while cladding, crane lifts or fit-out can need a shorter gap so motion reads clearly in the finished edit.
Do not treat one interval as best for every construction phase. Review the site diary, then choose an interval that matches how much change you expect between frames in that phase. If the phase changes, revisit the plan rather than locking a single setting for the whole programme.
Daily work windows, nights and inactive periods
Construction progress often happens in defined work windows. Capturing through nights, weekends or weather stoppages can fill storage without adding useful story. Schedule capture around the periods when fabric, plant or envelope actually moves, and pause or lengthen the interval when the site is inactive.
Where footage may include personal data, ICO guidance on complying with data-protection principles for surveillance expects collection and retention to be limited to what is necessary for the stated purpose, not driven by how much storage you happen to have. Align capture windows and retention with that purpose before you leave a camera running unattended.
Run a short test sequence before committing
The same Adobe best-practice guidance recommends a steady camera, choosing intervals according to scene movement, and making test shoots to judge the result. Before you commit to weeks of site capture, run a short test at the planned interval, assemble it at the intended playback frame rate, and check whether change between frames is readable.
Use the test to adjust interval and framing only. Confirm available modes on your hardware; use confirmed details interval lists, frame rates, file sizes or maximum recording durations for a specific model.
For scheduled time-lapse capture in this product category, a rotating preview screen can help as a setup aid when you align the frame on site—still verify interval options and ranges against the live product instructions before you rely on them for a live project.
Plan storage checks and review cadence
Long builds generate many frames even at moderate intervals. Plan a review cadence that matches site milestones: check framing after scaffold or plant moves, confirm the schedule still matches active work windows, and clear or archive media according to your retention purpose rather than waiting until cards are full.
Keep the planning maths, the edit frame rate and the on-site schedule in one place so anyone covering the shoot can see why the current interval was chosen.
Worked examples labelled as illustrative and FAQ
The figures below are illustrative planning examples only. Confirm playback frame rate, interval steps and recording limits on your own device before you schedule a live shoot.
Illustrative example A
You want about 20 seconds of film at 25 fps. That is roughly 500 frames. If you expect about 50 hours of active site time, 50 hours ÷ 500 frames ≈ 0.1 hours per frame, or about six minutes between frames. If six minutes is not available on the camera, choose the nearest supported interval and recalculate the expected film length.
Illustrative example B
You already have a preferred interval of ten minutes and about 80 hours of active capture. Frames ≈ 80 × 6 = 480. At 24 fps, film length ≈ 480 ÷ 24 = 20 seconds. If the cut needs to be longer, shorten the interval or extend active capture windows—not inactive nights.
FAQ
- Is there one best time lapse interval for construction projects? No. Match the interval to visible change in each phase, then check it against the frames your finished film needs.
- Should I film overnight by default? Only if overnight activity is part of the story you intend to tell; otherwise inactive periods mainly consume storage.
- What must I confirm on the camera? Interval modes, available ranges and any scheduling features on the live product instructions—do not rely on calculated values alone.
When you are ready to compare a scheduled time-lapse camera for site documentation, review the current product details for this time-lapse camera and confirm interval settings against the instructions supplied with the device.